Calisthenics Chest Workout: 5 Steps to Massive Strength
Introduction
Do you want a strong chest without lifting weights? A Calisthenics Chest Workout can help you do just that. With bodyweight training, you don’t need machines or dumbbells to build muscle and look great.
A strong chest isn’t just for showing off—it helps with pushing, lifting, and moving better every day. Plus, it makes your upper body look more powerful and balanced.
In this post, we’ll go over 5 easy steps you can follow to build chest strength using calisthenics. Let’s get started!
Why Choose a Calisthenics Chest Workout?
No Equipment, No Problem
One of the best things about a Calisthenics Chest Workout is that you don’t need any gym gear. You can use just your body. That means you can train at home, in the park, or anywhere you like. It’s simple, easy, and free!
Functional Strength and Aesthetic Gains
Calisthenics builds real strength. You’ll train your chest, shoulders, and arms in ways that help you move better in real life. And yes, it will help your chest look stronger and more defined too.
Ideal for Home and Outdoor Training
Whether you’re indoors or outdoors, calisthenics fits anywhere. No need to wait for machines or worry about space. Just drop down and go!
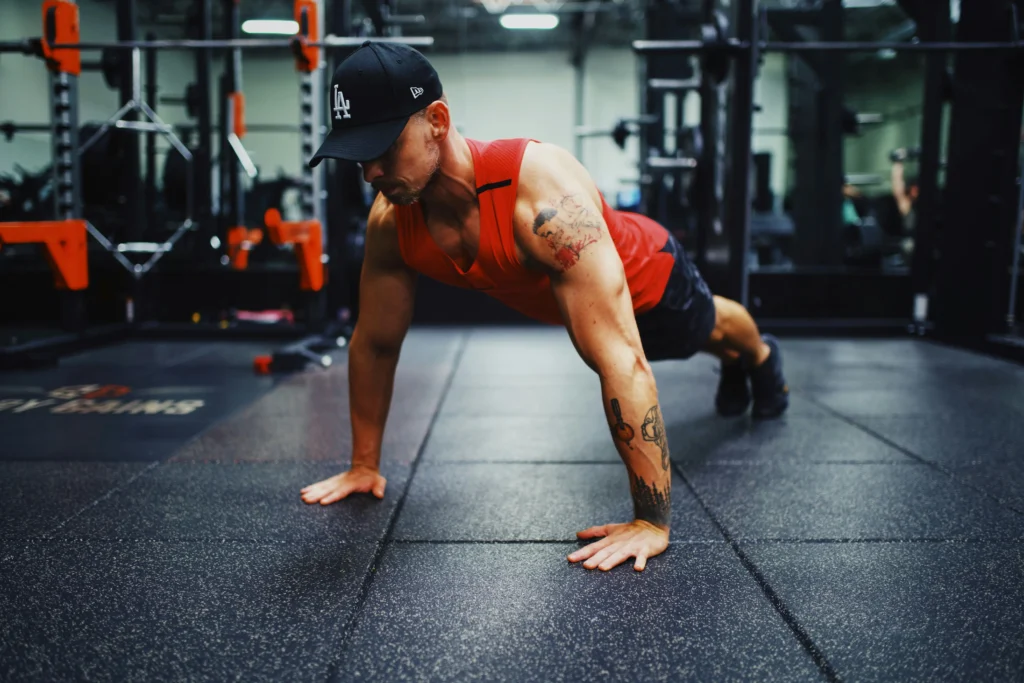
Step 1 – Master the Push-Up Fundamentals
Why Form Matters More Than Reps
Push-ups are the base of any good Calisthenics Chest Workout. But doing 100 push-ups with bad form won’t help you grow stronger. It’s better to do 10 perfect ones than 50 sloppy ones.
Here’s what good form looks like:
- Keep your body in a straight line
- Lower your chest close to the floor
- Push back up with control
Variations to Try: Incline, Decline, and Wide-Grip
To target different parts of your chest, try:
- Incline push-ups (hands on a higher surface) for lower chest
- Decline push-ups (feet on a higher surface) for upper chest
- Wide-grip push-ups for the outer chest
How Many Sets to Start With
If you’re new, try:
- 3 sets of 8–12 reps
- Rest 30–60 seconds between sets
- Add reps as you get stronger
Step 2 – Incorporate Dips for Lower Chest Activation
Using Parallel Bars or Household Alternatives
Dips are a powerful move for your lower chest. If you don’t have dip bars, you can use sturdy chairs or even a countertop.
Leaning Forward for Maximum Chest Engagement
To target your chest more than your triceps, lean your body forward a bit while doing dips. This angle helps your chest muscles do more work.
Reps and Recovery Tips
Start with:
- 2–3 sets of 6–10 reps
- Rest 60–90 seconds between sets
- If dips are too hard, try using a band or doing negative dips (lower down slowly)
Step 3 – Add Explosive Movements for Power
Plyometric Push-Ups and Clapping Push-Ups
Explosive exercises help build power. Plyometric and clapping push-ups are great choices. Push up hard so your hands leave the ground, then land softly and repeat.
Boosting Muscle Fiber Recruitment
These fast moves wake up more muscle fibers, which means better chest growth and strength.
When to Use These in Your Routine
Use explosive push-ups after your regular ones. Try:
- 2–3 sets of 5–8 reps
- Rest for about 60 seconds between sets
Step 4 – Increase Time Under Tension
Slow Reps to Maximize Muscle Growth
Slowing down your push-ups makes your muscles work harder. Lower yourself slowly for 3–5 seconds, hold, then push back up slowly.
Isometric Holds and Pause Techniques
Try holding your body at the bottom of a push-up for 5 seconds. Or pause halfway through. These techniques keep your chest under tension, helping it grow.
Example Tempo Sets to Follow
Try this tempo workout:
- 3 sets of 6–10 push-ups
- 4 seconds down
- 2-second hold at the bottom
- 2 seconds up
Step 5 – Progress with Advanced Calisthenics Chest Moves
Archer Push-Ups, One-Arm Push-Ups, and More
As you get stronger, it’s time to level up. Advanced moves include:
- Archer push-ups: Shift your weight side to side
- One-arm push-ups: A big challenge!
- Pseudo planche push-ups: Lean forward to add chest load
Programming Progressions Safely
Don’t rush into hard moves. Practice easier versions first. For example, do archer push-ups before trying one-arm push-ups.
Tracking Strength Gains
Write down your workouts. Keep track of reps, sets, and how you feel. This helps you stay motivated and see your progress.
Sample Weekly Calisthenics Chest Workout Plan
Beginner-Friendly Weekly Layout
Day 1 – Basics
- Push-ups: 3 sets of 10
- Incline push-ups: 3 sets of 10
- Dips: 2 sets of 8
Day 2 – Power
- Plyometric push-ups: 3 sets of 6
- Decline push-ups: 3 sets of 8
- Isometric holds: 2 sets of 10 seconds
Day 3 – Progression
- Archer push-ups: 3 sets of 5 per side
- Tempo push-ups: 3 sets of 6
- Dips: 2 sets of 10
Balancing Volume and Recovery
Your chest needs time to rest. Train it 2–3 times a week and leave at least one day between workouts.
How to Customize Based on Your Fitness Level
If you’re a beginner, do fewer reps and sets. If you’re advanced, add more reps or harder push-up styles. Adjust based on how your body feels.
Common Mistakes to Avoid in Your Calisthenics Chest Workout
Overtraining and Lack of Recovery
Too much training without rest can slow your progress or cause injury. Always give your muscles time to recover.
Poor Form and Inconsistent Progression
Bad form leads to bad results. Make sure each rep is clean. Don’t rush into advanced moves—build up slowly.
Ignoring Supporting Muscles
Your chest works with your shoulders, triceps, and core. Train those too, so your body stays balanced and strong.
Final Thoughts on Building Chest Strength with Calisthenics
A Calisthenics Chest Workout is a smart, simple way to build muscle, power, and confidence—no gym needed!
To recap:
- Start with strong push-up form
- Add dips for lower chest strength
- Use explosive moves for power
- Slow down reps to build muscle
- Progress to advanced exercises
Stay consistent, track your progress, and have fun.
Try these steps today and start building your strongest chest yet!