Wall Handstand Mastery: 7 Proven Secrets to Perfect Form
If you’ve been eyeing the wall handstand as your next big move, you’re not alone. Whether you’re diving into calisthenics, yoga, or just want to master an impressive skill, the wall handstand is a foundational step toward balance, strength, and body control. In this guide, you’ll learn everything you need to know to perfect your form, avoid common mistakes, and progress safely.
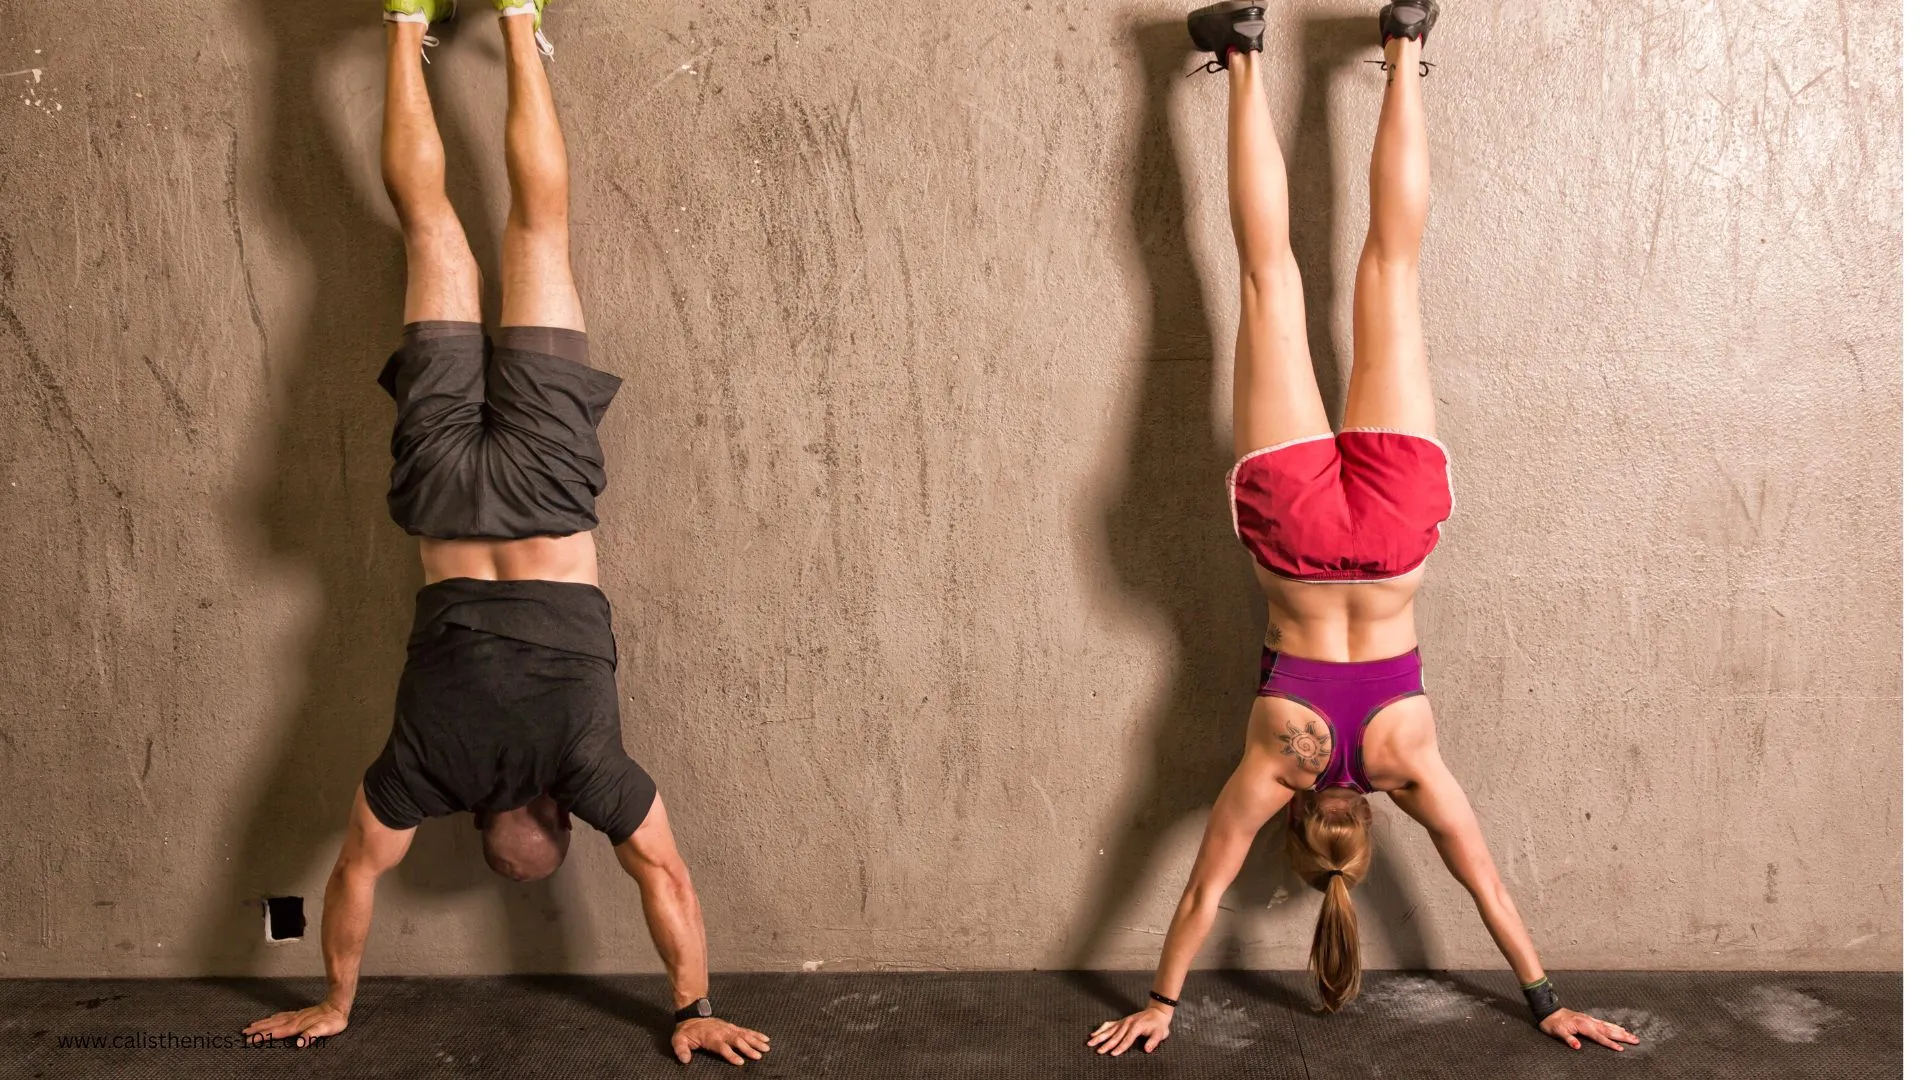
What is a Wall Handstand?
A wall-handstand is a handstand variation where you use a wall for support. Unlike a freestanding handstand, this version lets you build strength and alignment without worrying about balance right away. It’s an essential stepping stone that allows you to focus on form before attempting to balance on your own.
Benefits of Practicing Wall Handstands
Physical Benefits
- Builds shoulder and core strength
- Improves balance and spatial awareness
- Enhances posture and spinal alignment
Skill Transfer
- Helps you progress to freestanding handstands
- Lays the foundation for other calisthenics skills like handstand push-ups
Mental Benefits
- Trains focus and patience
- Builds confidence as you gain control upside down
Preparing for Your First Wall Handstand
Prerequisites
Before jumping into a wall handstand, check that you’ve built up some foundational strength:
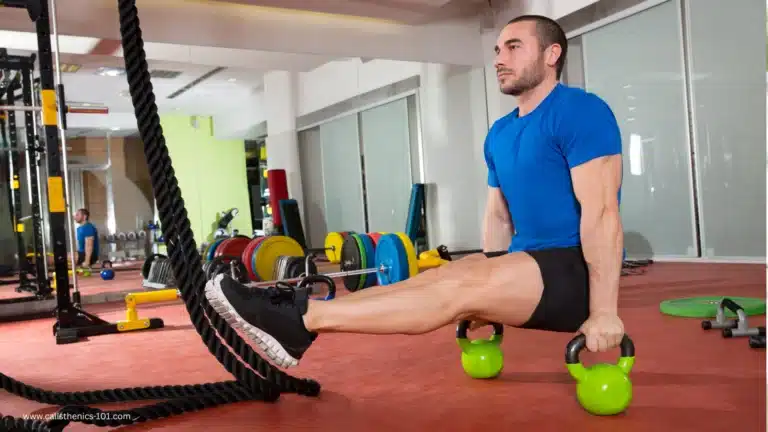
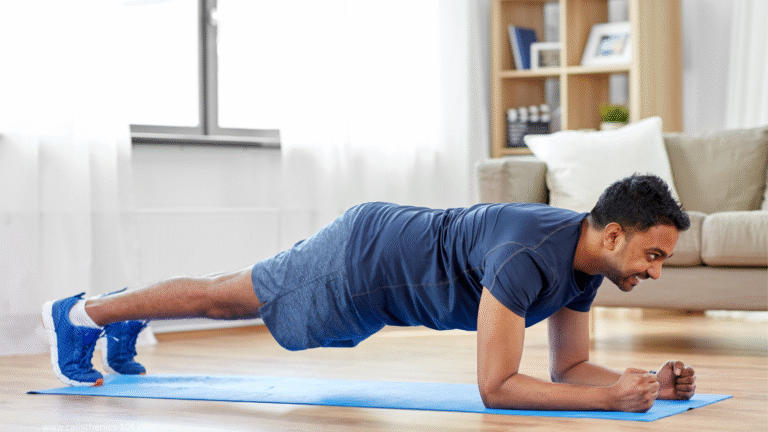
- Plank hold: 30–60 seconds
- Hollow body hold: 20–30 seconds
- Shoulder mobility drills
- Wrist warm-ups
Warm-Up Routine
Warming up is essential. Here’s a quick 5–10 minute routine:
- Arm circles (1 min)
- Wrist rolls and stretches (2 min)
- Wall shoulder slides (1 min)
- Downward dog hold (1 min)
- Hollow body pulses (1 min)
| Exercise | Purpose |
|---|---|
| Arm Circles | Shoulder activation |
| Wrist Rolls | Joint prep |
| Hollow Body Pulses | Core activation |
| Wall Slides | Shoulder mobility |
Step-by-Step Wall Handstand Tutorial
Step 1: Choose Your Setup
Find a flat, smooth wall. Use a yoga mat or soft surface to protect your hands and head if needed. Clear the area of any objects.
Step 2: Entry Method
You’ve got two main options:
Kick-Up Method
- Face away from the wall.
- Place your hands on the floor about 6 inches from the wall.
- Kick one leg up and follow with the other.
Wall Walk Method
- Start in a plank with your feet against the wall.
- Walk your feet up the wall as your hands walk toward it.
- Stop when your chest faces the wall and your body is vertical.
Step 3: Align Your Body
Once you’re upside down, focus on these key cues:
- Hands shoulder-width apart
- Elbows locked
- Shoulders elevated (push away from the floor)
- Core engaged
- Glutes squeezed
- Toes pointed
Step 4: Hold and Build Endurance
Start with 10–15 second holds and gradually work up to 60 seconds or more. Quality matters more than quantity, so prioritize alignment.
Step 5: Exit Safely
When you’re ready to come down:
- Use a gentle cartwheel exit (kick one leg down, pivot to the side)
- Or bend one leg and step down slowly with control
Common Mistakes and How to Fix Them
| Mistake | Why It Happens | Fix |
| Arching the back | Weak core, poor awareness | Tuck pelvis, practice hollow body |
| Bent elbows | Lack of strength or engagement | Lock out arms, build shoulder strength |
| Looking at the wall | Misalignment of neck and spine | Look at floor between hands |
| Hands too far apart | Poor shoulder stability | Keep hands shoulder-width |
Progressions and Variations
Beginner to Advanced
- Wall plank hold
- Wall pike hold
- Wall walks
- Chest-to-wall hold
- Wall handstand with shoulder taps
- Freestanding handstand attempts
Variations to Challenge Yourself
- Wall handstand push-ups
- Wall-assisted handstand holds on parallettes
- Shoulder taps while maintaining balance
Progress gradually. Don’t rush—master each step before moving on.
How Often Should You Train Wall Handstands?
Consistency is key, but recovery is just as important. A sample schedule might look like:
| Day | Focus | Duration |
| Mon | Technique drills | 15 min |
| Wed | Endurance holds | 20 min |
| Fri | Progressions | 25–30 min |
Aim for 3–5 sessions per week with at least one full rest day. Always listen to your body.
Safety Tips and Injury Prevention
Wrist Care
- Warm up wrists every session
- Use wrist wraps if needed
- Stretch post-workout
Learning to Fall
- Master the cartwheel exit
- Practice rolling safely
Avoid Overtraining
- Don’t push through fatigue
- Stop if shoulders or wrists feel strained
Tools and Equipment to Enhance Your Practice
| Equipment | Use |
| Yoga mat | Comfort and grip |
| Resistance bands | Warm-up and mobility drills |
| Wrist wraps | Support and protection |
| Timer or app | Track hold time and rest intervals |
| Parallettes | Improve wrist angle and increase range |
These tools help you train smarter and track progress more effectively.
Frequently Asked Questions About Wall Handstands
How long does it take to learn a wall handstand?
It depends on your starting point, but with consistent practice 3–5 times a week, you can see progress in 4–8 weeks. Keep your wall handstand sessions focused and intentional.
Should you train wall handstands every day?
No. Aim for 3–5 days per week to allow recovery. Overtraining can lead to wrist and shoulder injuries. Make each wall handstand session count.
Why does my back arch during a wall handstand?
You’re likely not engaging your core. Practice hollow body holds and tuck your pelvis. This will drastically improve your wall handstand alignment.
Is chest-to-wall better than back-to-wall?
Both are useful. Chest-to-wall helps teach proper alignment, while back-to-wall is easier for beginners to access. A well-rounded wall handstand routine includes both.
Can beginners do wall handstands?
Absolutely. Start with wall planks and wall walks before attempting full holds. Wall handstands are one of the best tools for building inversion strength.
Final Tips to Master the Wall Handstand
- Be patient. It’s a skill, not a trick.
- Focus on technique, not just time upside down.
- Record your sessions to spot form errors.
- Breathe and stay calm—tension leads to imbalance.
- Make wall handstand practice a regular part of your weekly routine.
Take Action: Start Your Wall Handstand Journey Today
You’ve got everything you need to get started with wall handstands—the knowledge, the steps, and the tools. Now it’s up to you to apply what you’ve learned. Start small, stay consistent, and celebrate your progress.
Want to go further? Join our free 4-week handstand challenge or check out our advanced calisthenics guides to take your training to the next level.
Train smart, stay strong, and keep pushing toward that perfect wall handstand!