
Master the Back Lever in 3 Easy Steps: Your Ultimate Guide to Perfecting the Skill
Introduction: The Struggle and Triumph of Mastering the Back Lever
If you’ve ever tried to perform a back-lever, you’ve probably encountered moments of doubt, frustration, or even failure. The back-lever is one of the most challenging calisthenics moves to master, requiring a mix of strength, control, and body awareness. But trust me, once you nail it, the sense of achievement is unparalleled.
You may have seen others effortlessly hold the position, their bodies perfectly parallel to the ground. But how do you get there? How can you turn that seemingly impossible move into something achievable? The answer lies in breaking it down into manageable steps. This article will guide you through mastering the back-lever in three easy steps.
Ready to conquer the back-lever? Let’s dive in.
Step 1 – Build Strength and Flexibility for the Back Lever
Before even attempting to hold the back-lever, you need to ensure your body is prepared. A lack of strength in the core and shoulders or flexibility in your wrists and shoulders can make the back-lever seem impossible. This step focuses on developing the foundational strength and flexibility required to perform the move safely and effectively.
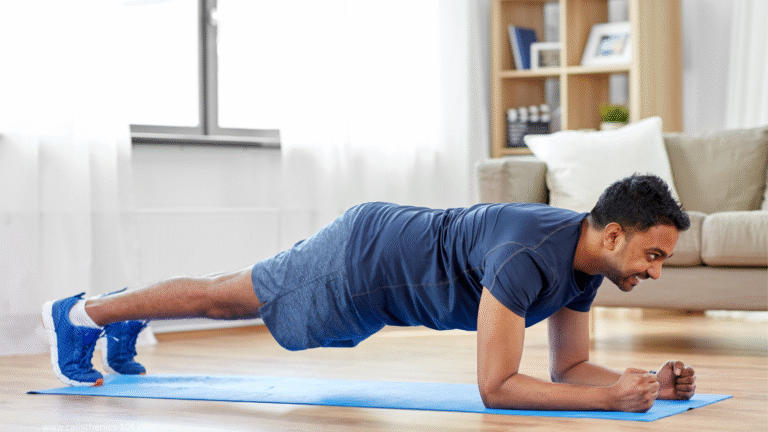
Core Strength
Your core plays a pivotal role in the back-lever. Without a strong core, you’ll struggle to keep your body in a straight line. Core strength helps maintain control, especially when your body is hanging upside down.
Key Exercises for Core Strength:
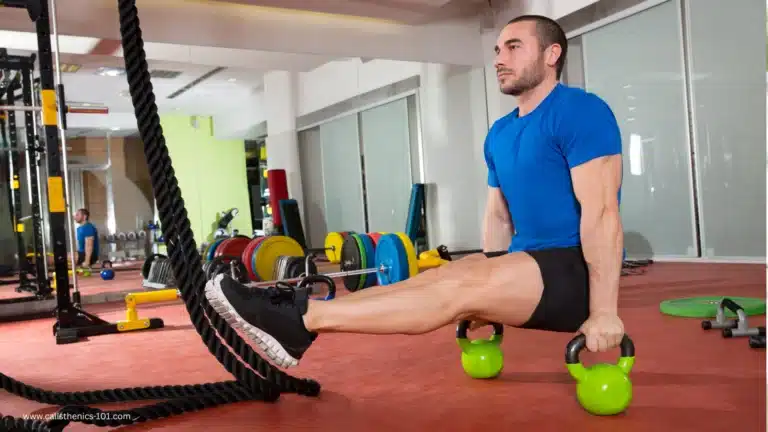
- L-Sits: Sit on the ground, lifting your legs off the floor while keeping them straight. Hold for 20-30 seconds, and repeat for 3-5 sets.
- Hollow Body Holds: Lie on your back, lift your legs off the floor, and engage your core. Hold for 20-30 seconds, aiming for 3-5 sets.
These exercises focus on building deep core strength, which is essential for stabilizing your body in the back-lever.
Shoulder Strength
Strong shoulders are crucial for a successful back-lever. They help support your weight and prevent injury. Without shoulder strength, your back-lever will lack control and stability.
Key Shoulder Exercises:
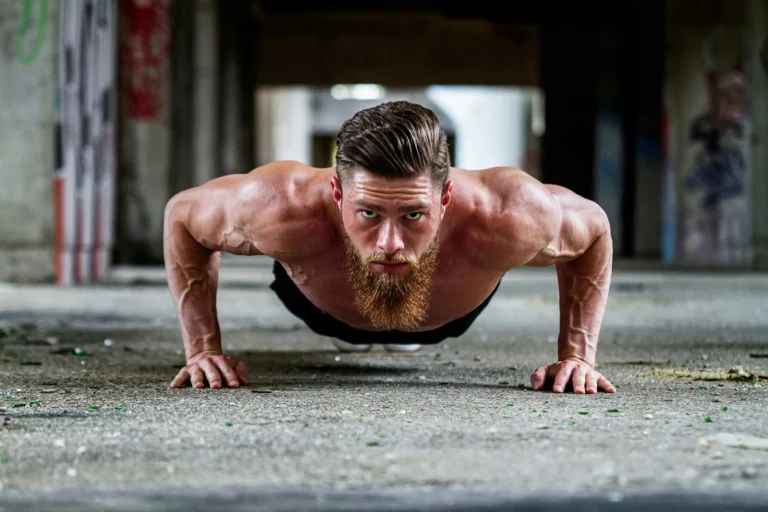
- Planche Leans: Get into a push-up position and shift your weight forward, leaning your body slightly past your hands. Hold for 10-15 seconds and repeat.
- Shoulder Shrugs: Hang from a pull-up bar and focus on lifting and lowering your shoulders. This exercise helps activate the necessary muscles for the back-lever.
Flexibility
Flexibility, especially in the shoulders and wrists, is crucial for holding a full back-lever. If your body is too stiff, you’ll struggle to align your body correctly, which can lead to unnecessary strain and potential injury.
Key Flexibility Exercises:
- Shoulder Stretches: Perform wall stretches or use a resistance band to improve shoulder mobility.
- Wrist Mobility: Practice wrist rolls and gentle stretches to increase wrist flexibility, which is vital for maintaining control in the back-lever.
Step 2 – Master the Progressions Leading Up to the Back Lever
Now that you’ve built the necessary strength and flexibility, it’s time to move on to progressions. Progressions help you gradually build up to the full back-lever, ensuring that your body is accustomed to the movement before you attempt it fully.
Tuck Back Lever
The tuck back-lever is the first step in mastering the back-lever. It reduces the amount of body weight you need to support, making the movement more manageable. Start by tucking your knees into your chest while hanging from a bar. The closer your knees are to your chest, the easier the move becomes.
How to Perform the Tuck Back Lever:
- Grab a pull-up bar with an overhand grip.
- Engage your core and pull your knees towards your chest.
- Lean back, keeping your knees tucked and your body in a hollow position.
- Hold this position for 10-20 seconds, gradually increasing the hold time.
Advanced Tuck Back Lever
Once you’re comfortable with the tuck back-lever, progress to the advanced tuck. This involves extending your knees slightly away from your chest, increasing the difficulty while still maintaining a manageable position.
How to Perform the Advanced Tuck Back Lever:
- Start in the tuck position.
- Slowly extend your knees, but keep your legs bent.
- Hold the position for 10-20 seconds, ensuring your body remains in a tight line.
Straddle Back Lever
The straddle back-lever is the next progression, and it involves spreading your legs wide apart to reduce the difficulty of the move. This position helps you focus on the mechanics of the back-lever while still keeping your body in a more stable position.
How to Perform the Straddle Back Lever:
- Begin with the advanced tuck back lever.
- Slowly open your legs into a wide straddle, keeping your body in a horizontal position.
- Hold the straddle position for 10-20 seconds, ensuring your core remains engaged.
Step 3 – Perfect the Form and Hold the Back Lever
Now that you’ve gone through the progressions, it’s time to focus on form and technique. Holding the back lever in its full form requires a combination of strength, control, and perfect body positioning.
Engage Your Core
Engaging your core is the most important aspect of holding the back lever. Your core should be tight throughout the movement, preventing any sagging or loss of control. Focus on keeping your lower back flat and your legs straight.
Tip: Imagine your body is a straight line from your head to your toes. This mental image helps reinforce proper positioning.
Shoulder Position
Your shoulders should be actively pushing away from the bar. This is a key part of maintaining proper form and preventing shoulder injury. The stronger your shoulder engagement, the easier it will be to maintain the back lever position.
Tip: Actively press your shoulders down as if you were trying to push the bar away from your body.
Full-Body Tension
For the back lever to be effective, you need to create tension throughout your entire body. This includes tightening your legs, squeezing your glutes, and engaging your lats. Every part of your body should be working together to keep you stable.
Tip: Think of your body as one solid unit rather than isolated muscles. All muscles should be engaged to keep the back lever position steady.
FAQs About the Back Lever
What Is the Back Lever and Why Is It Important?
The back lever is an advanced calisthenics move where you hold your body parallel to the ground while hanging from a bar. It strengthens the core, shoulders, and back, and it’s a great way to improve overall body control.
How Long Does It Take to Master the Back Lever?
Mastering the back lever can take anywhere from a few months to over a year, depending on your current strength, flexibility, and consistency in training. With focused practice, you can achieve it faster, but it’s essential to progress at your own pace.
Can I Do the Back Lever If I’m a Beginner?
As a beginner, you’ll need to build strength in your core, shoulders, and wrists before attempting the back lever. Start with progressions like the tuck back lever and build up to the full back lever over time.
What Are the Best Exercises for the Back Lever?
Exercises like L-sits, hollow body holds, and planche leans are all great for building the strength and control needed for the back lever. Don’t forget to incorporate shoulder stretches and wrist mobility drills as well.
How Can I Improve My Back Lever Form?
To improve your form, focus on body tension, shoulder engagement, and maintaining a straight line from head to toe. Practice regularly and ensure that your core is always tight.
Conclusion: Keep Pushing Toward Your Back Lever Goal
The back lever is a challenging but achievable goal. With the right mix of strength training, flexibility, and consistent practice, you’ll eventually hold the back lever with ease. Start slow, focus on mastering each progression, and remember that every step you take brings you closer to your goal.
Ready to tackle the back lever? Start today and see how far you can go. Share your progress and inspire others on their journey to mastering this incredible skill!
4o mini