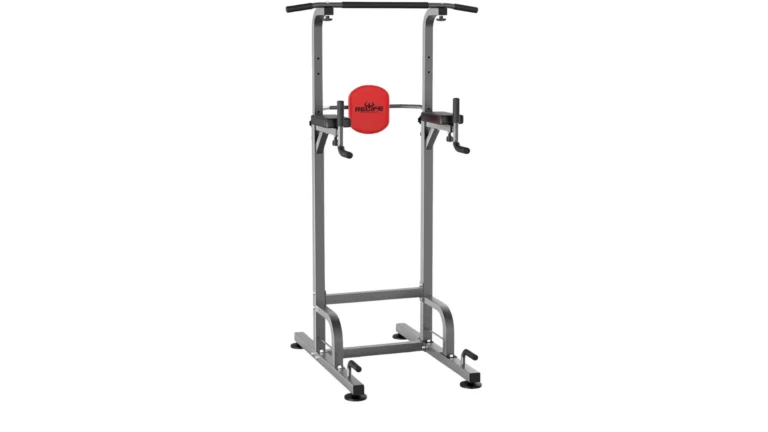
DIY Parallel Bars: 5 Powerful Hacks to Build Them Fast
Building your own DIY parallel bars at home is one of the smartest and most rewarding decisions you can make if you’re into calisthenics or bodyweight training. Not only is it budget-friendly, but it also gives you complete control over the size, stability, and feel of your bars. Whether you want to perform dips, L-sits, or handstand push-ups, having parallel bars at home elevates your workouts. This guide will walk you through everything you need to know—from materials and tools to step-by-step assembly and safety tips.
Why Build DIY Parallel Bars?
Commercial parallel bars can be expensive, bulky, and not always tailored to your specific needs. When you build DIY parallel bars at home:
- You save a significant amount of money.
- You customize the height and width based on your goals.
- You can move and store them easily.
- You enjoy the satisfaction of creating your own gym gear.
Plus, it’s a great weekend project—even for beginners. You don’t need advanced carpentry or plumbing skills. With basic tools and inexpensive materials, anyone can build a stable set of DIY parallel bars in just a few hours. This is the kind of project that adds value to your home workouts without emptying your wallet.
Materials and Tools You’ll Need
Before diving into the building process, gather your tools and materials. Below is a comprehensive list based on a standard PVC build, which is popular due to its affordability and ease of use.
Materials List
| Material | Quantity | Notes |
|---|---|---|
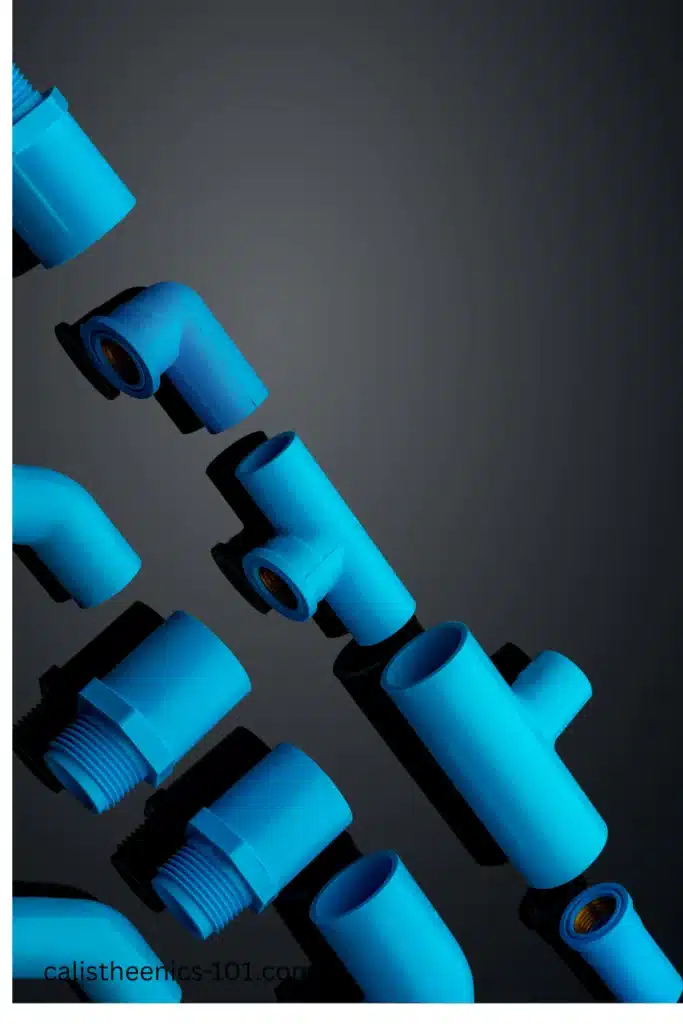
| PVC pipes (1.5″ diameter) | 6 | For bars and legs |
| PVC T-joints | 4 | For connecting horizontal to vertical pipes |
| PVC elbows | 4 | For corner support |
| PVC end caps (optional) | 4 | For neat, closed ends |
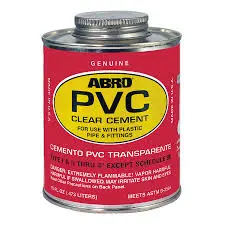
| PVC glue | 1 bottle | Ensures strong, permanent joints |
| Anti-slip pads | 4 | Increases ground stability |
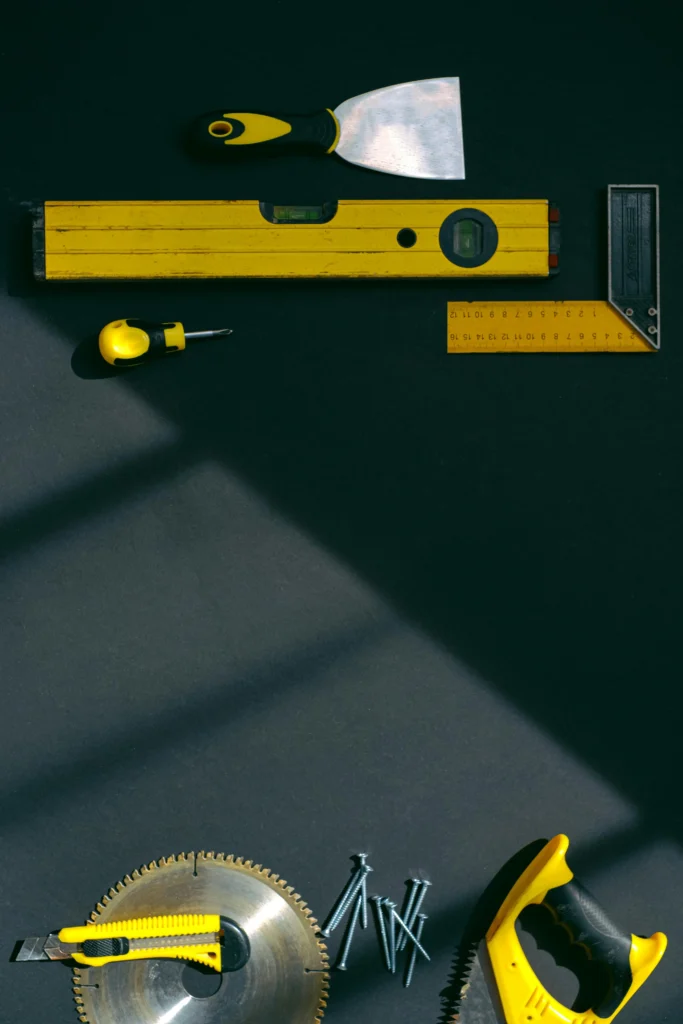
Tools Required
- Measuring tape
- Pipe cutter or hacksaw
- Marker and ruler
- Sandpaper
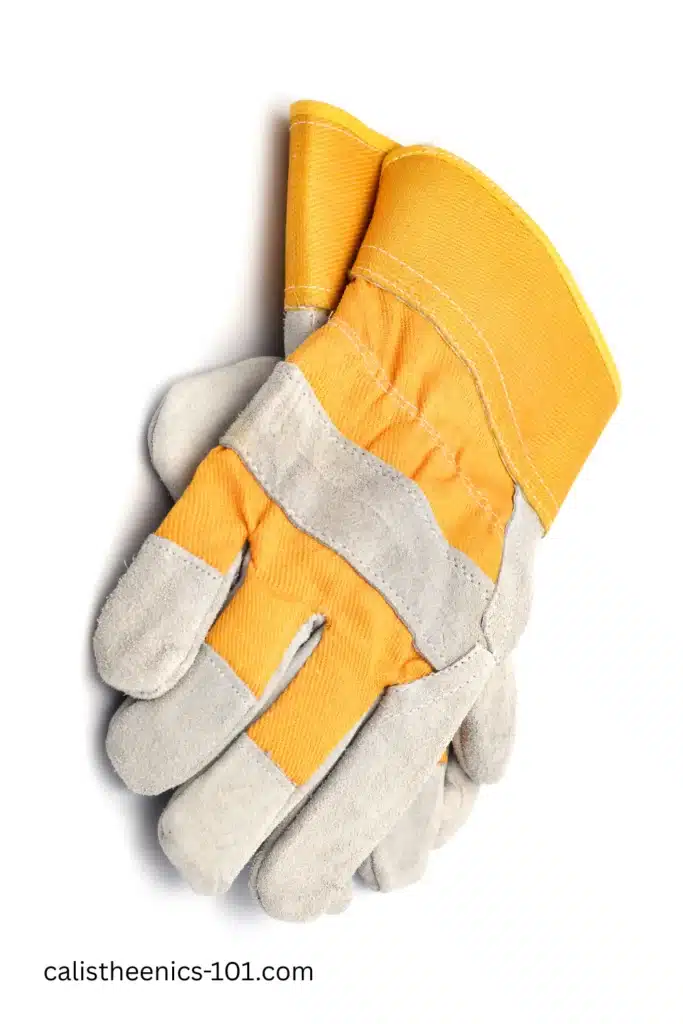
- Safety gloves and goggles
PVC is a favorite among DIYers because it’s lightweight, easy to cut, and strong enough for most bodyweight exercises. If you prefer a more rigid option, you can substitute wood or metal tubing with some minor adjustments.
Step-by-Step: How to Build DIY Parallel Bars
Step 1: Decide on Dimensions
Your first task is to choose dimensions that suit your height and exercise style.
Common dimensions:
- Height: 18″ to 24″
- Length: 36″ to 48″
- Width between bars: 18″ to 24″
Tip: Use masking tape on the floor to visualize your desired setup before cutting anything.
Step 2: Measure and Cut the PVC
Use your measuring tape and marker to mark the PVC pipes:
- 2 bars at 36″ (horizontal bars)
- 4 legs at 18″
- 4 base supports at 20″
- 2 stabilizer bars at 18″ (between bases)
Cut the PVC using a pipe cutter or hacksaw, then sand the edges smooth. Clean each section to ensure good adhesion when gluing.
Step 3: Assemble the Frame
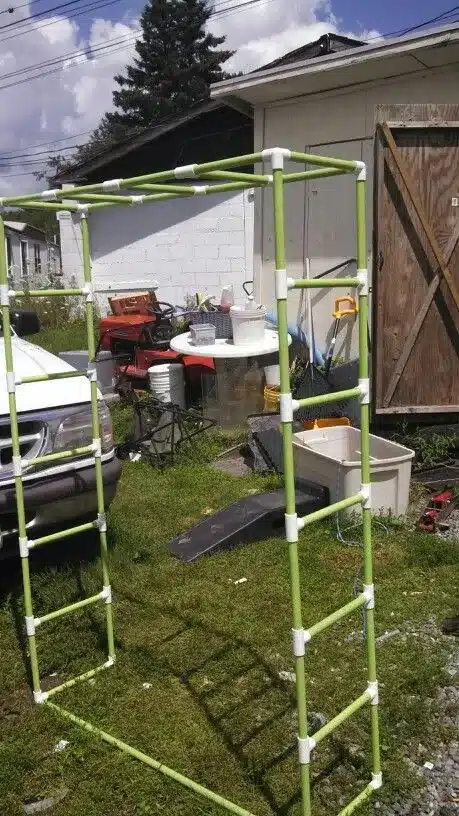
Start by attaching the legs to the horizontal bars using T-joints. Connect the base supports using elbow joints and stabilizers:
- Insert legs into the T-joints beneath each bar.
- Attach elbows to the bottoms of the legs.
- Connect the base supports across the bottom.
- Add end caps or anti-slip pads to the bottoms.
Lay it flat on the ground and ensure it sits evenly. If needed, make small adjustments to the cuts to balance the structure.
Step 4: Secure the Joints
Apply PVC glue to all connection points. This will prevent wobbling or loosening over time. Let the structure sit for at least 24 hours to fully cure. Once dry, gently test it for stability by placing some weight on it and checking for movement.
Safety Tips for DIY Parallel Bars
- Test the bars with gradual weight before full use.
- Always place them on a flat surface.
- Periodically inspect for cracks or loosened joints.
- If using wood or steel instead of PVC, adjust fasteners accordingly.
- Consider using a non-slip mat underneath to increase grip and floor protection.
Cost Breakdown
| Item | Approximate Cost |
| PVC Pipes | $15 – $25 |
| Joints and Elbows | $10 – $15 |
| PVC Glue | $5 |
| Anti-slip Pads | $5 |
| Total | $35 – $50 |
Compared to store-bought options costing $100 or more, DIY parallel bars are far more economical. If you already own some tools, your total cost could be even lower.
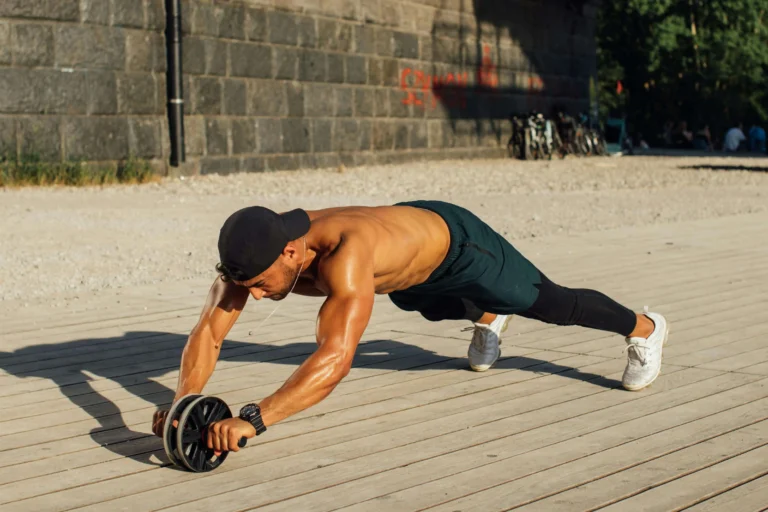
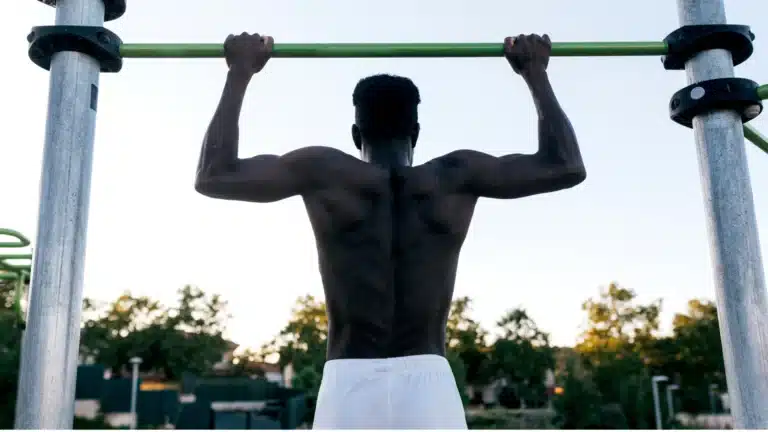
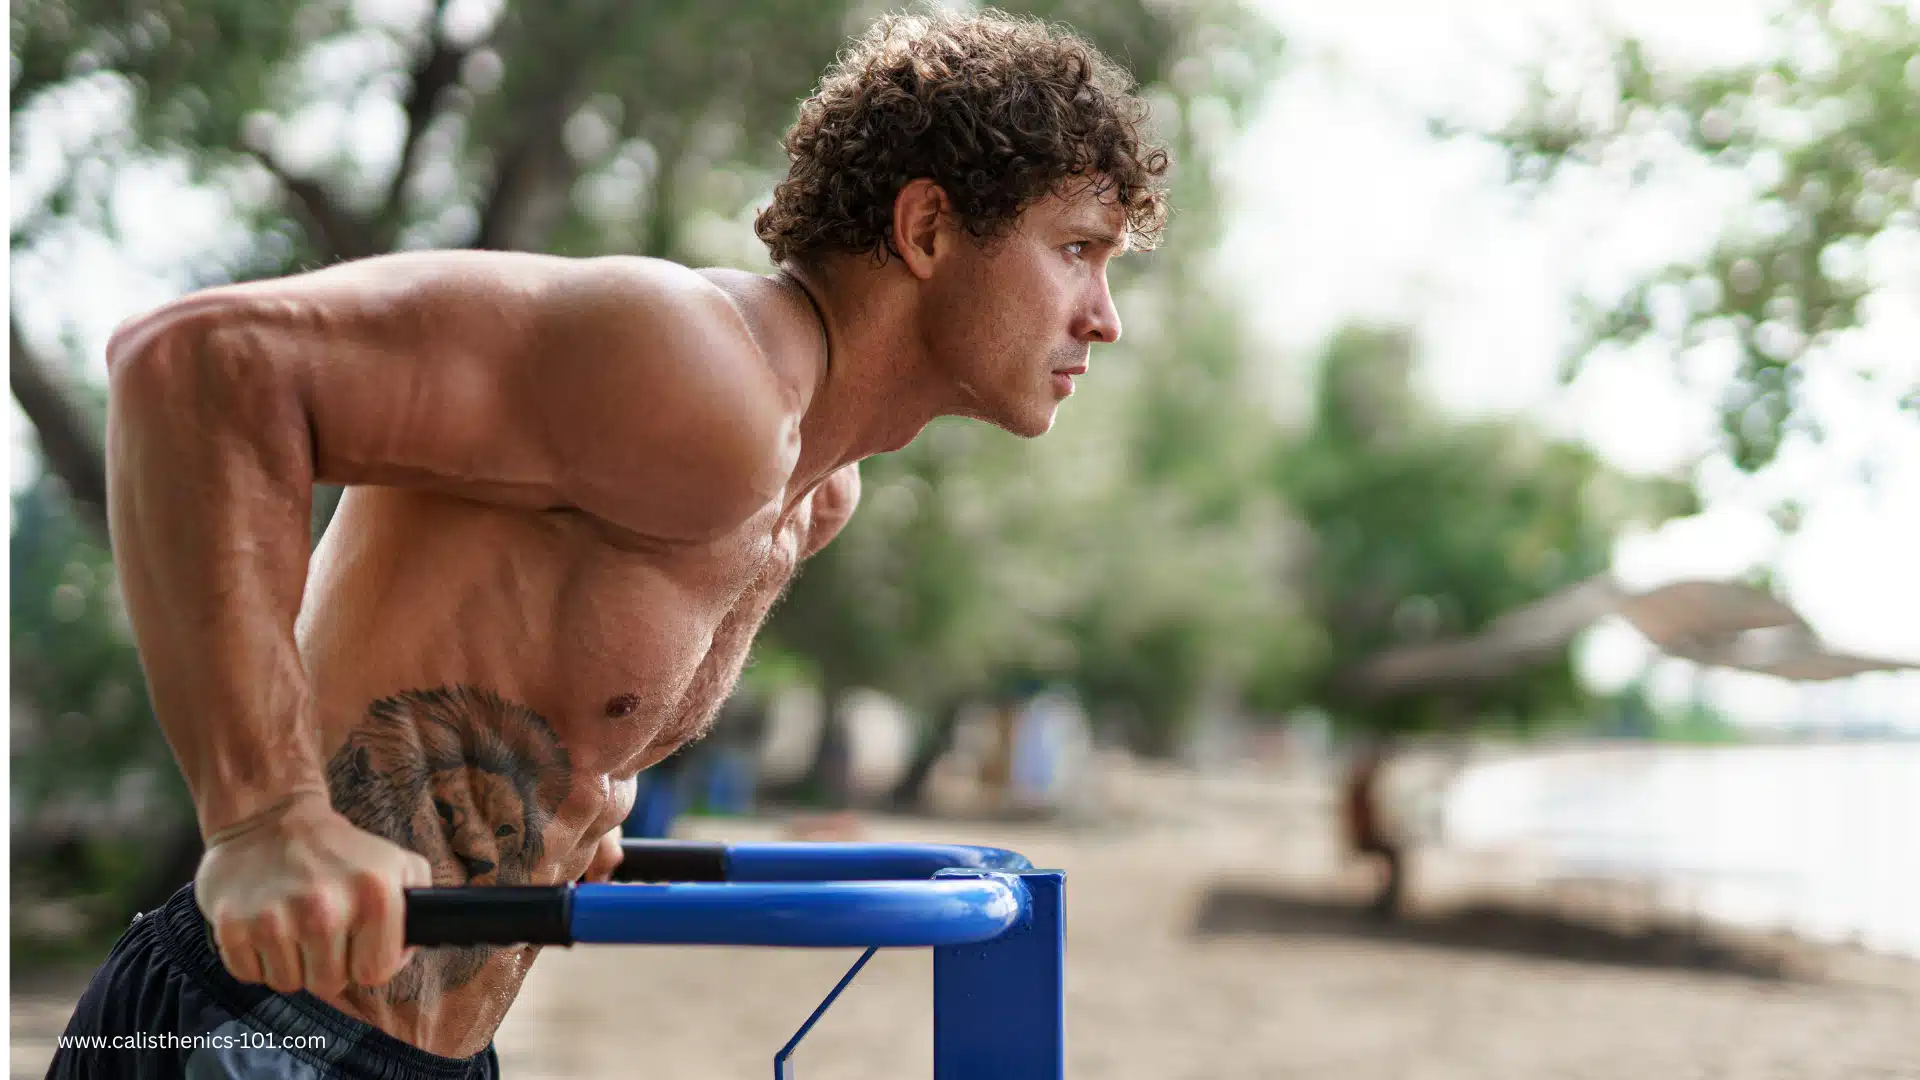
Exercises You Can Do With DIY Parallel Bars
Once your bars are ready, the possibilities are endless:
- Dips for triceps and chest
- L-sits for core strength
- Tuck holds and planche progressions
- Handstand push-ups
- Incline push-ups
- Elevated rows
- Straight-arm support holds
- Core and mobility drills
DIY parallel bars are one of the most versatile pieces of equipment for upper body and core workouts. Their simple design makes them ideal for both beginner and advanced athletes.
Common Mistakes to Avoid
- Using thin or low-quality PVC that bends under pressure
- Not securing joints with glue or screws
- Making bars too narrow or too tall
- Skipping stability checks
- Forgetting to level your cuts, resulting in uneven legs
Avoiding these errors will ensure your parallel bars last and perform well.
Maintenance Tips
- Clean your bars regularly with a damp cloth.
- Inspect for damage or wear monthly.
- Store them indoors to extend lifespan.
- Re-tighten or re-glue if any joint loosens.
- If you’re using the bars outdoors, consider applying a UV-resistant spray to protect PVC from sun damage.
FAQs About DIY Parallel Bars
Are DIY parallel bars safe to use?
Yes—if built with proper materials and tested for stability.
Can I build them with wood or metal?
Absolutely. Just adjust the tools and connectors accordingly. Wood offers a more rigid feel, while metal adds long-term durability.
How much weight can PVC parallel bars handle?
High-quality 1.5″ PVC can support up to 200–250 lbs when glued and assembled correctly.
How long does it take to build?
Typically 1–2 hours, plus drying time for the glue.
What surface should I place them on?
A non-slip mat, carpet, or flat concrete floor is ideal.
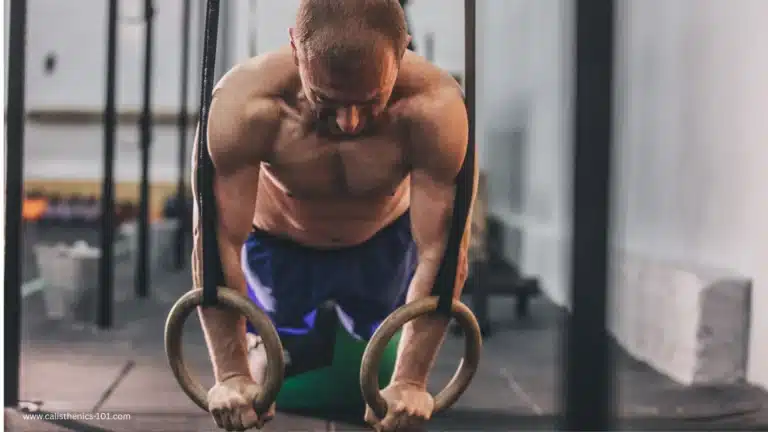
What other equipment goes well with DIY parallel bars?
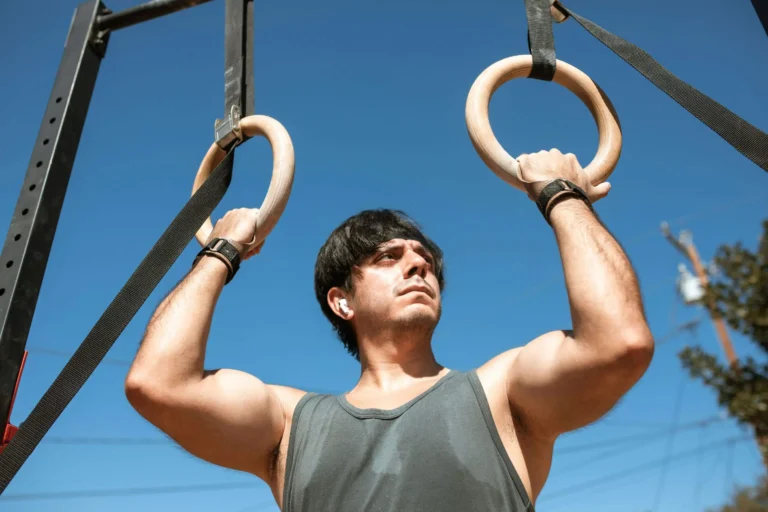
Pair them with resistance bands, gymnastic rings, or a yoga mat for a complete home gym setup.
Final Thoughts
Now that you know how to build DIY parallel bars at home easily, there’s no excuse to delay. With just a few tools and a little effort, you’ll create a reliable training setup that boosts your calisthenics performance. DIY doesn’t just save money—it gives you control over your progress.
Whether you’re aiming for your first dip or mastering the planche, your homemade DIY parallel bars will be there every step of the way. Ready to take your training to the next level? Start building your DIY parallel bars today and check out our other home workout guides to expand your personal gym even further.